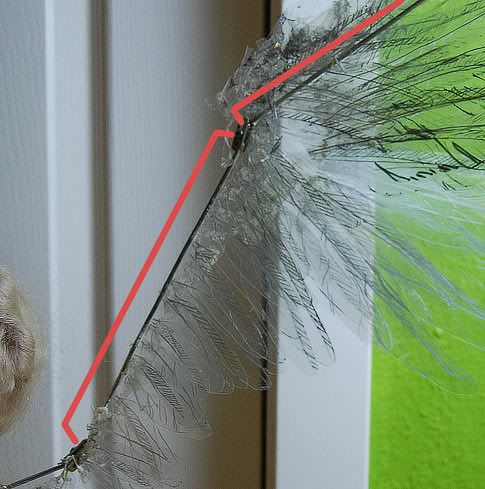
Since Armaverse doesn't sell elongated "dumb-bells" individually yet, beyond the largest size shown here, (which is about 3.5" long) I made my own for the tips of the wings I made for my "Angel" character, Uriel.
First, you'll need these supplies...
(click photos for links of where to order these parts online).
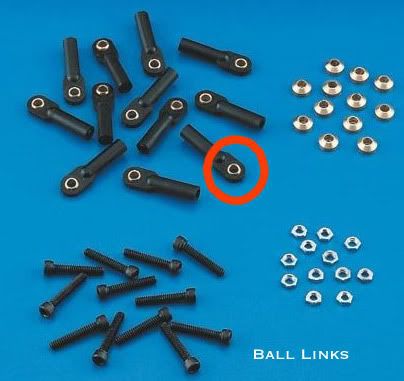
A. Swivel Ball Links for RCL (remote control airplanes etc). You can also find these at your local Hobbytown or hobby shop. You only want the brass ball and you can cut that out of the link housing easily enough with a pair of cutters. The size ball links you want are 2-56. The brass balls are 3/16" in diameter, perfect for fitting inside the Armaverse adjustment plates. It also has a hole already drilled that you can easily 'tap' into. (more on this below).
Click:
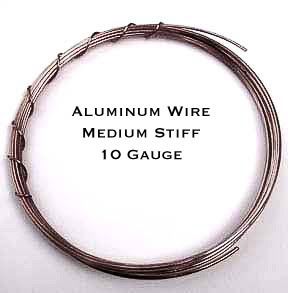
B. Aluminum Wire Medium Stiff, 10 gauge
Click:
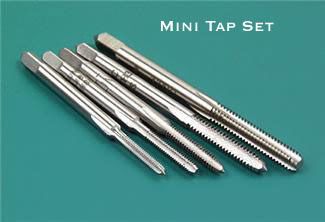
C. Mini tap set
Click:
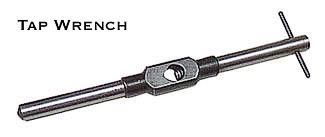
D. Tap Wrench
Click:
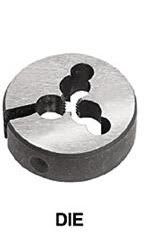
E. Threading Die (3-48)
Click:
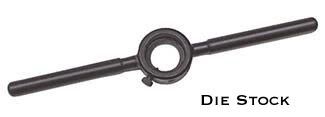
F. Die Stock
Click:
G. Cold Weld - you can buy at your local hardware/dpt. store

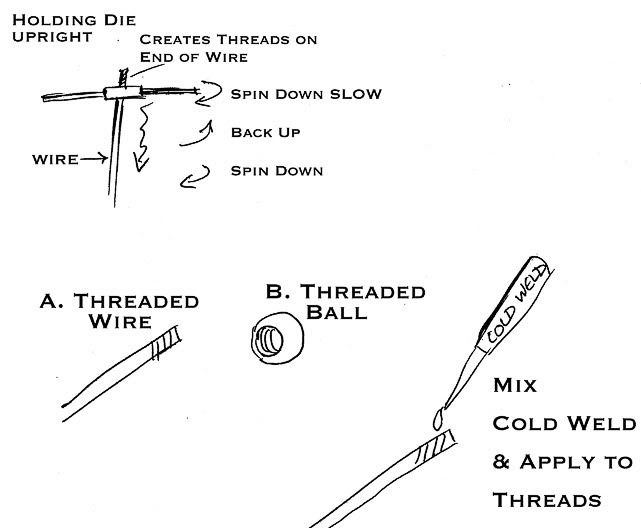
Once you have the brass balls cut out of the links, you tap (or cut threads in the hole) using your 3-48 tap. With the brass ball held by a pair of needle-nose pliars, and holding the tap perpendicular to the hole, start tapping into the hole slowly (basically it winds it's way down the hole like a screw). As it begins to tap into the hole (you'll feel the resistance as it cuts into the brass) you want to 'reverse' 1/4 turn or so as this cleans the tap of debris as you go. Continue tapping into the hole, backing out, tapping in etc. until the tap goes through to the other side. You now have threaded the hole! (Don't worry if your pliars leave marks on the brass ball, it will still swivel just fine in the armature plate).
Click:
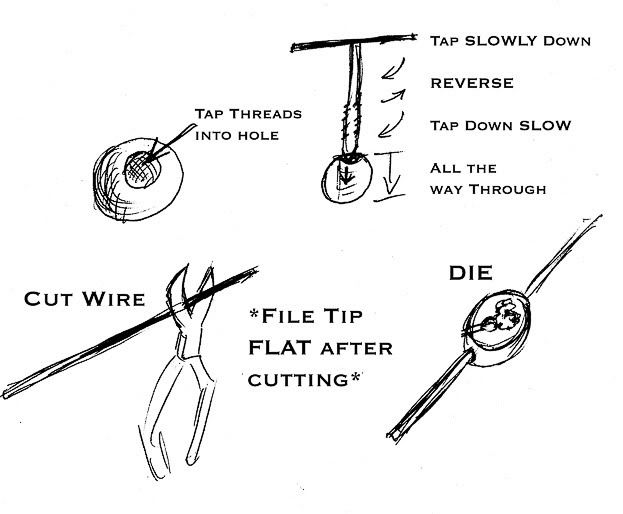
Cut the aluminum wire to the length you want, file the end flat and smooth, and with your DIE (3-48) start spinning it around the end of the wire until it starts winding it's way down. It's the same idea here as with the tap. Spin it down the wire a bit, then reverse to clean the threads, go forward etc. until your die has screwed itself down the length of your wire tip as far as needed (about as far down as it takes for the brass ball to screw onto the tip of the wire). Mix up some Cold Weld and apply a little to the threads on the wire and screw your newly tapped ball onto the wire. Apply more Cold Weld around the base of the ball for reinforcement and let set.
Click each:
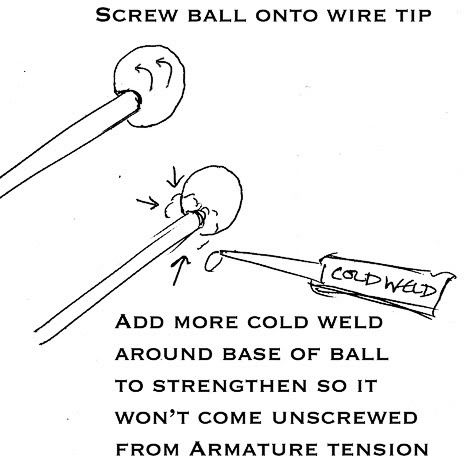
Now you're ready to add a ball to the other "end" of your custom dumb-bell and it's ready to use!
1 comment:
You have discussed an interesting topic that everybody should know. Very well explained with examples. I have found a similar website Magnetic lock visit the site to know more about Access Controls Melbourne.
Post a Comment