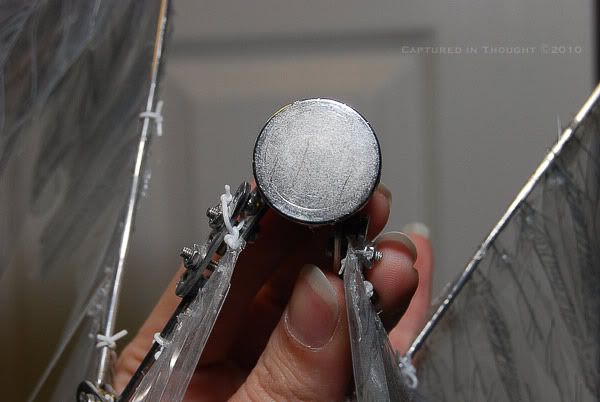
I got the magnets glued to the doll and to the wings successfully, yaaaay!
Here's a couple pix
(click thumbnail to view fullsize):

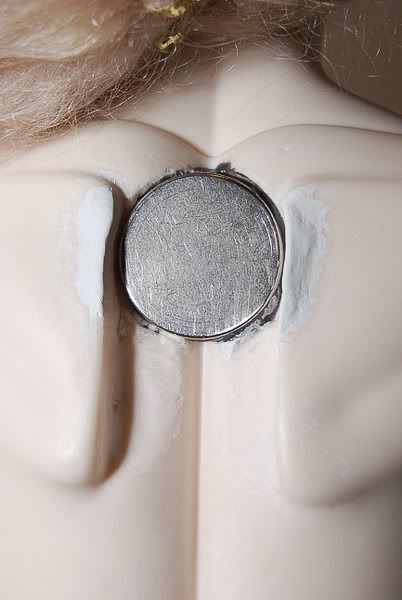
(The epoxy on the doll was from an earlier idea that *failed*. So I might as well just sand that off).
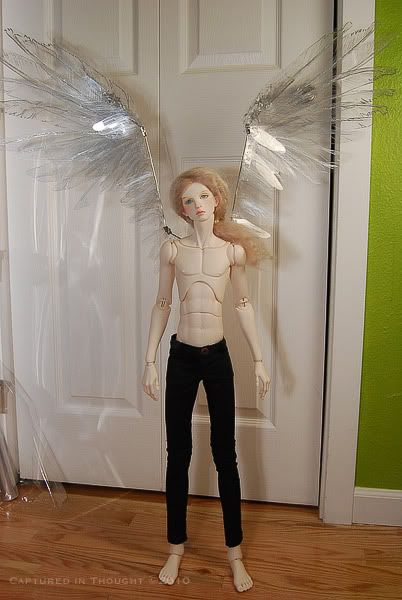
After the magnets set (the glue had to set for 24 hours), I attempted to attach the wings to the doll and....SUCCESS! It was so much better than I'd hoped. The magnets hold brilliantly and the wings don't even *try* to fall off. The only minor issue is the magnet on the wings likes to try and rotate left or right depending on how I have the wings posed, but I'm getting a couple more magnets in the mail that I might try attaching in between that would prevent that. But it's not really that bad at all, so I may just leave it alone.
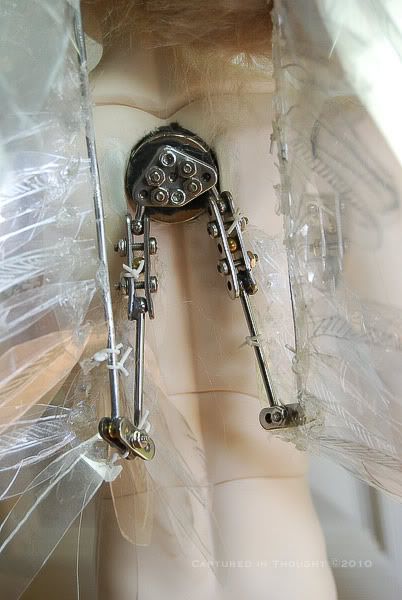
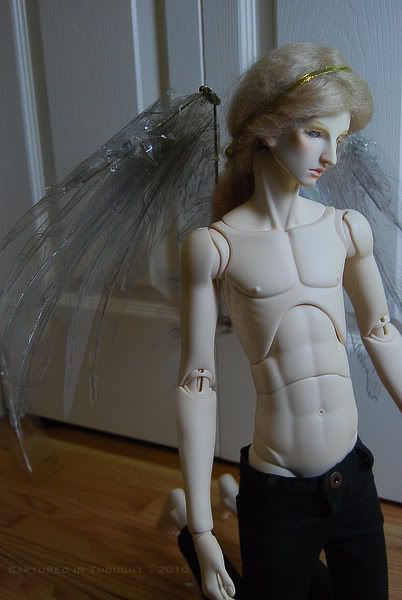
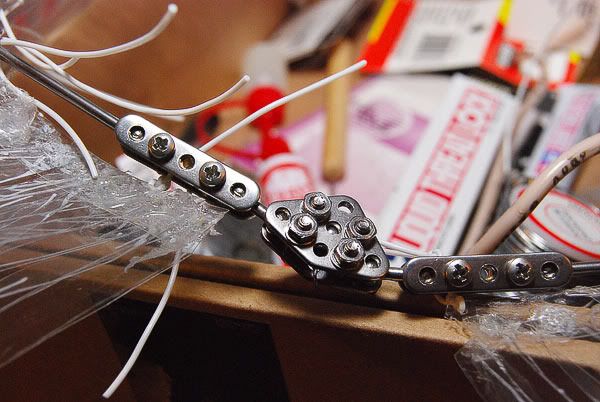
The armature I used is from
Armaverse, The armature I used is from
the individual Phase 3 parts, and I'm really happy overall with how it works. It's so smooth and easy to move, yet holds a pose great. It's much better than using wire and I know that it will last. Here's several shots I took today of Uriel in his different wing poses.
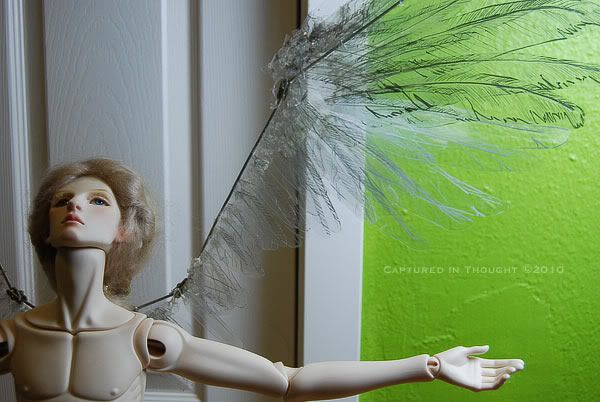
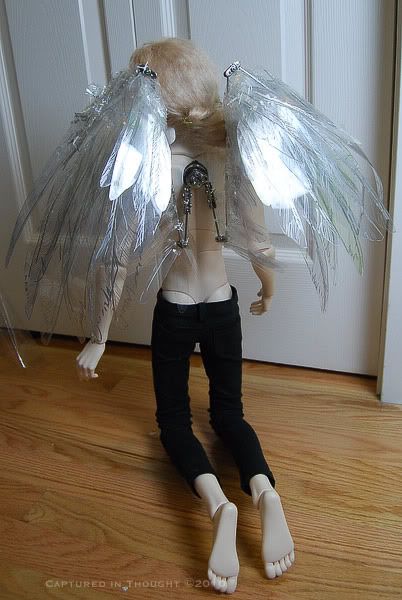
Wings folded. This will more than likely be the most common pose.
(I'm posting clickable thumbs cos there's a lot of pix!)
click

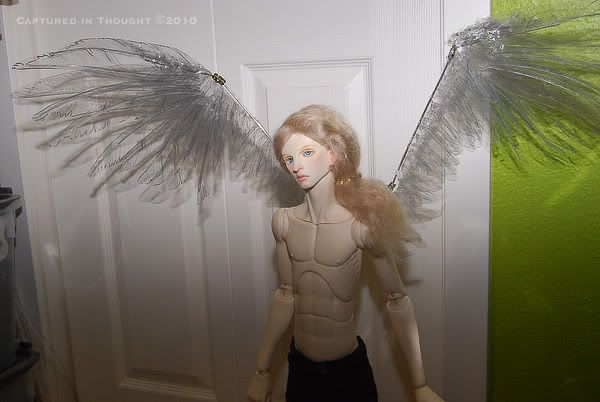
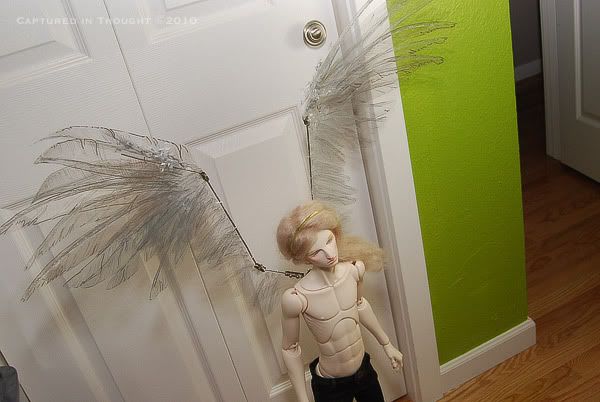
 Wings forward
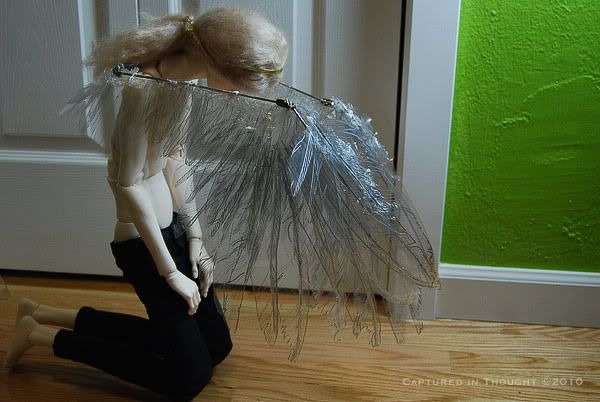
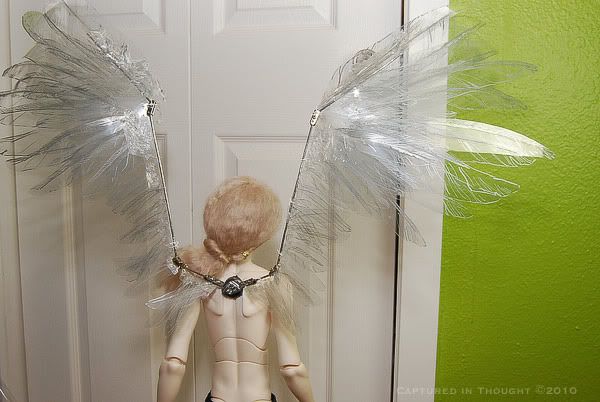
 From the back
, lowered - then raised

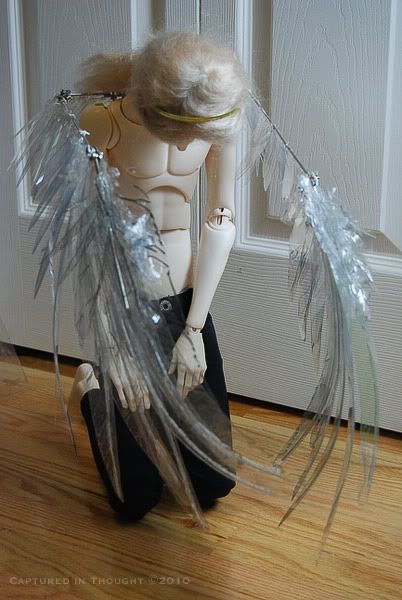
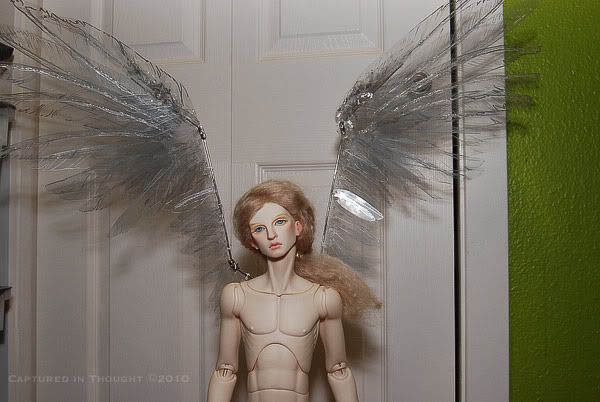
 Fully extended

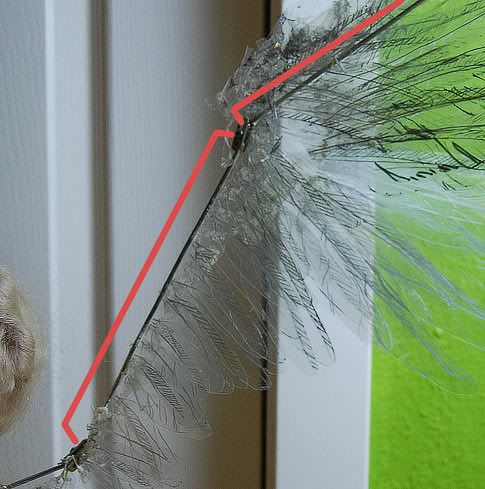
More pix extended and raised
(I was digging how the wings created a prism effect as the light shown through them!)

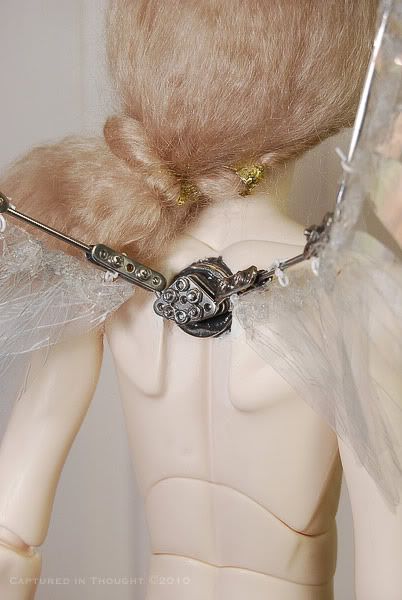
 Closeups of the armature
, lowered and raised

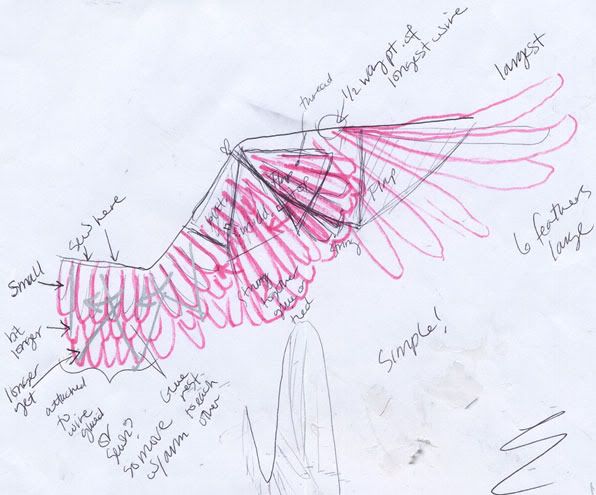
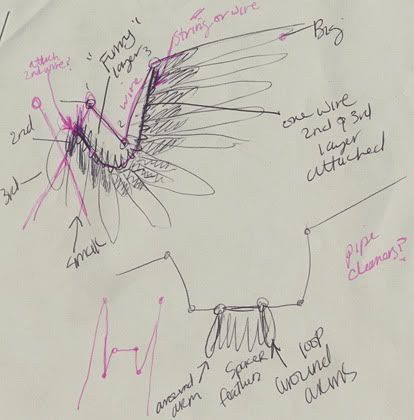
So all that's left to do really is create the cover to go over the armature. It'll act as a sort of 'cape', but will then velcro down. I'm still working on exactly how I'll do it. It will have smaller feathers cut out of a lighter plastic sewn onto it so it will blend in.
--------------------------------------------------------------------------------------
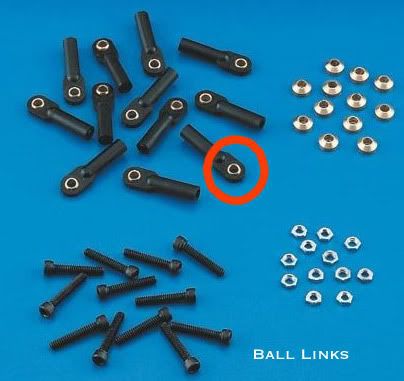
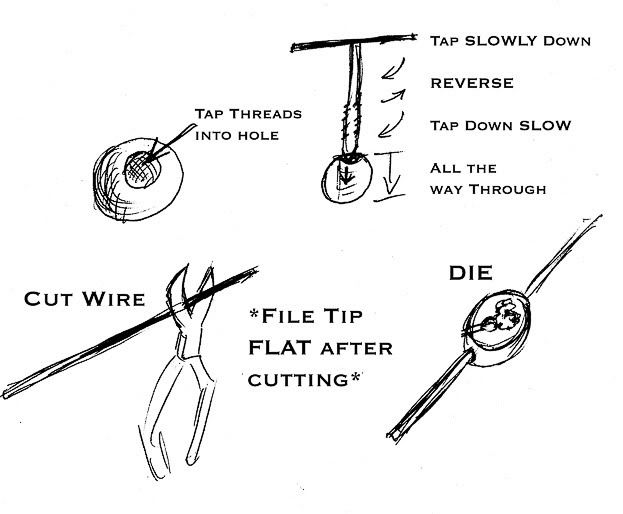
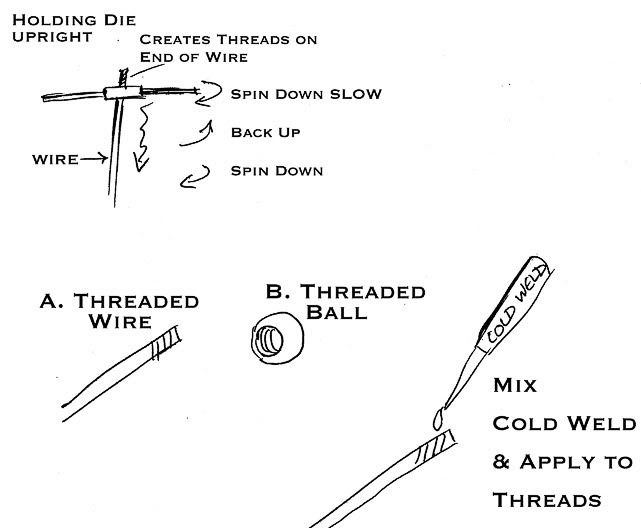
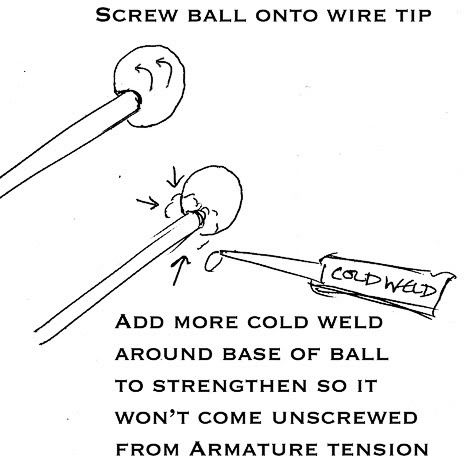
UPDATE: For information on how I created custom 'dumb-bell' parts long enough for the wings
armature,
see here.


